With just a few small tweaks, you’ll get much more from your Chromebook. These 12 tricks and tips should help get you started.
Learn The Keyboard Shortcuts
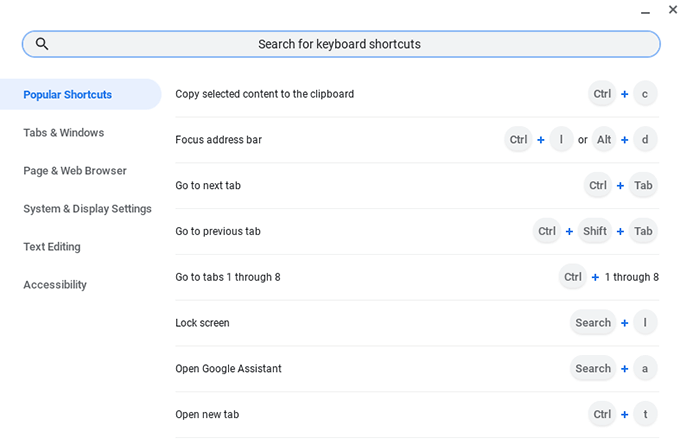
Chrome OS shares many keyboard shortcuts with Windows and macOS and adds a few completely new ones. Mastering these shortcuts will make your life easier, and help you navigate your Chromebook faster. For a handy reference to all of the shortcut keys available, press and hold Ctrl + Alt and press / (forward slash).
Make Better Use Of Screen Space
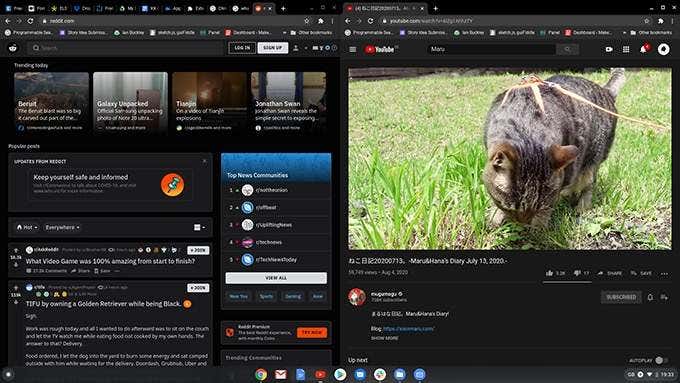
The ability to quickly split the screen between two different programs was traditionally a feature of Window Managers on Linux systems. Most operating systems offer window splitting and tiling, and Chrome OS is no different. To bind a window to half the screen, hold Alt and press the [ key to bind to the left, and the ] key to bind it to the right. Where possible, the split point will be in the middle giving you a good view of both screens. Need to see something full size for a moment? Holding Alt followed by = will maximize the focused window. When you are done, hit Alt + = to return it to its side.
Use Virtual Desks
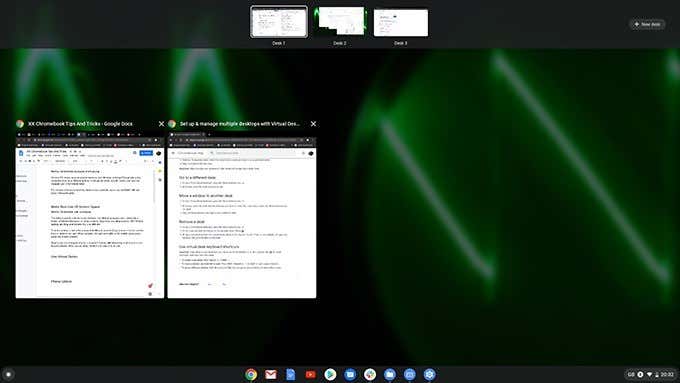
Virtual desks are like extra monitors, each with their own layout. They allow you to separate out different screens for different tasks and cut down on cluttered, overcrowded digital workspaces. To create a new desk, press the Show windows key (it looks like a rectangle with two lines to its right). Click the + New Desk button, and a new desk will be created at the top of your screen. Drag which windows you’d like to put on the new desk, and press the Show windows key again to exit. Now, when you hold the Search button and press ], you’ll move to your new virtual desk. You can move back by holding Search and pressing the [ key.
Phone Unlock
Since Chromebooks are tied to a Google account, you need to enter your Google password at login and when the screen is locked. You can avoid this with another useful Chromebook trick by using Android Smart Lock to unlock your Chromebook via Bluetooth whenever it’s nearby. If you didn’t set up your phone when you created your Chromebook account, head to Settings > Connected Devices and click Set Up. Once your phone is connected, select your device, followed by Smart Lock to enable the feature.
Turn Web Pages Into Chrome Apps
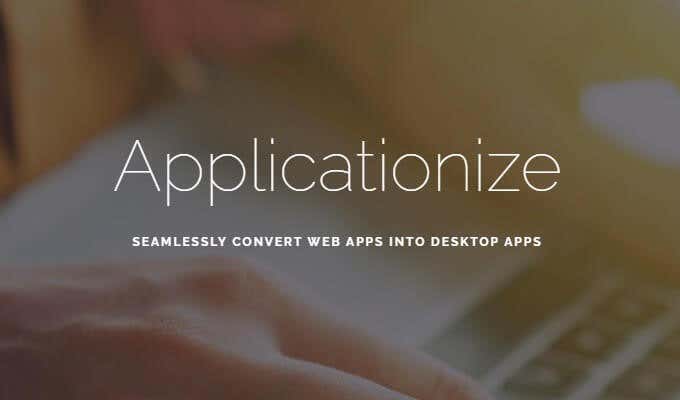
One of the major frustrations with Chrome OS is poor support for some Android apps. Discord, Slack, Facebook, and WhatsApp all have issues, making them harder to use than their smartphone counterparts. Applicationize Me solves this problem by allowing you to turn any web app into a Chrome App. After using the ‘Applicationizer,’ you can pin apps to the shelf and they will open in a new window when selected.
Change Downloads to Google Drive
While you can keep files locally on a Chromebook, it isn’t advised. The operating system is designed to free up space whenever the internal drive is almost full and will delete old files. If you need to Powerwash your Chromebook to return it to the factory settings you will also lose your data. A far safer way is to set your Chromebook’s download folder to your Google Drive, so you always have a copy of your work in the cloud. To activate this setting, open the Chrome browser, click the three dots in the top right corner, and select Settings. On the left pane, select Advanced > Downloads, and under the section labeled Location, click Change. Choose your Google Drive folder as the default download location.
Use Dropbox/OneDrive Instead
If you prefer to use Dropbox or OneDrive over Google Drive, a useful Chromebook tip is that you can add them to the Chromebook Files menu. Open the Files app, click on the three-dot menu in the top right of the window, and select Add New Service > Install New Service. You’ll find both Dropbox and OneDrive on the list. Once installed, they’ll show as drives in the Files app’s left pane. You can combine this Chromebook tip with the previous one to have your Chromebook data sync to your preferred cloud platform.
Use Linux Features
To use the Linux Virtual Machine within Chrome OS, open Settings > Linux(beta). After selecting Turn On you’ll be prompted to follow a few steps. This can take a few minutes, but once it’s done you can open the Terminal by opening the Linux app in the application draw.
Get Linux App Store
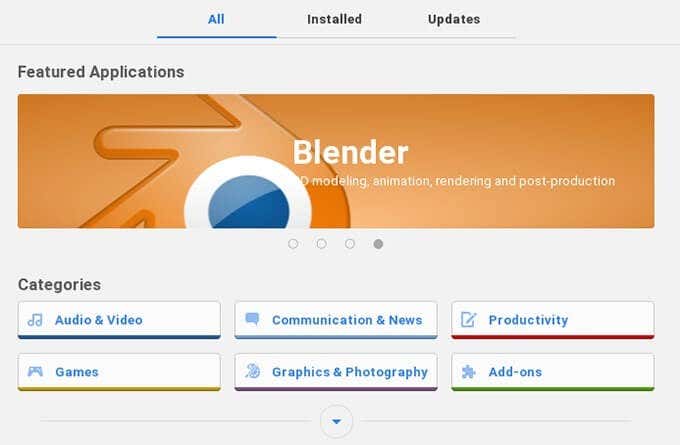
Chrome OS supports a variety of Linux apps, which you can install from the Terminal. For a more convenient way of finding and installing software, use the Gnome Software Center. Open the Linux app and enter the following: Once installed, you’ll need to enter the following commands: When they finish, reboot your Chromebook, and you’ll find the Gnome Software Center in your application drawer.
Share your files with Linux
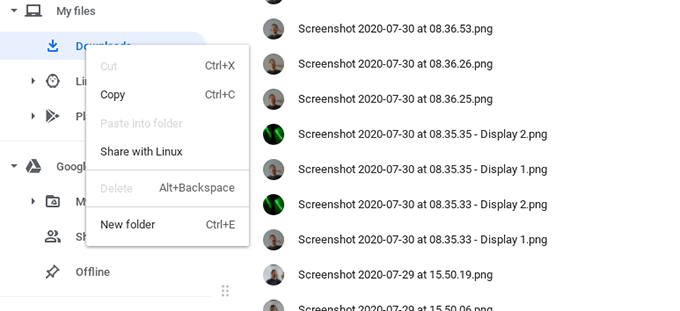
When you run Linux inside Chrome OS, the filesystems are separated by default. This can be overridden for files and folders you wish to share with Linux. To enable file sharing, open the Files app, and navigate to the file or folder you wish to share with Linux. Right-click the file and select Share with Linux. Now you can open a Linux Terminal and type /mnt/chromeos to access the shared files.
Sync Your Linux Files with Google Drive
Backing up Linux files on a Chromebook takes more steps than on Chrome OS, but it’s possible. Both Rclone and Drive are command-line tools for synchronizing data with Google Drive. Once set up, you can choose how frequently your files are backed up, and which files and folders to ignore.
Install VS Code
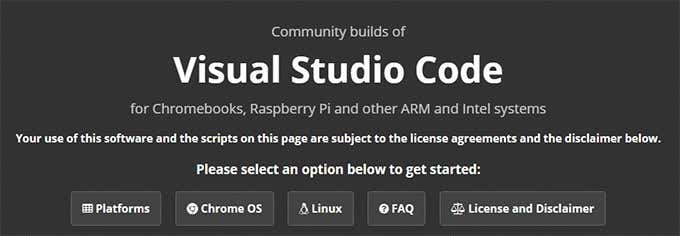
Linux’s addition to Chrome OS turned Chromebooks into convenient development machines for web development and general programming. A good code editor is essential, but until recently, there weren’t many options. Headmelted provides community builds of Visual Studio Code targeting almost every platform, including Chromebooks.
Chromebook: Upgraded
These Chromebook tips and tricks will take you from a casual Chromebook user to a Chrome OS and Linux dual-operating system power user. Don’t be scared to experiment to get the perfect setup for you, and remember that if everything goes wrong, you can always Powerwash your Chromebook and start again!

