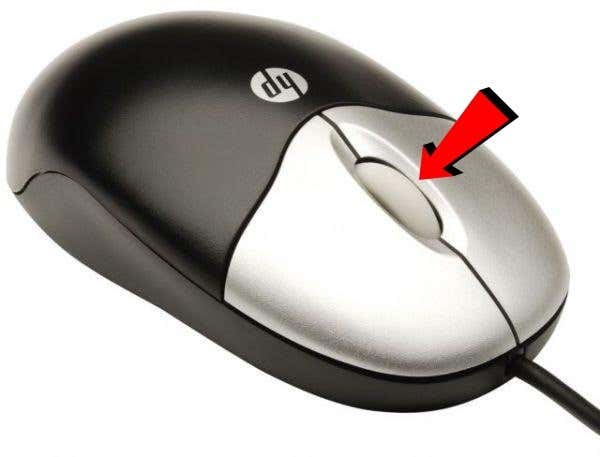
Modern browsers do a good job of covering the shortcut-key basics, like jumping between tabs, changing your zoom level, stopping a page from loading, and more. However, autoscrolling is largely overlooked despite being extremely useful. If you have an external mouse and you’re running Windows, there’s a good chance that you’re able to middle-click. Middle-clicking on an area of a webpage, in most modern browsers, will turn your cursor into a multidirectional crosshair. When you move the mouse in a direction away from the starting point of that crosshair, the page will begin to automatically scroll.
However, did you know that users running Mac and Linux aren’t offered this functionality at all? Some websites may explicitly block auto-scrolling, too. It’s also possible that you’re on Windows but you don’t have a mouse with the ability to middle-click, or your laptop’s trackpad doesn’t support three-finger clicking. In these cases, you’re out of luck—or are you? Luckily for you, there are a few solutions. The two best that I’ve found come in the form of an extension, available for Chrome, and a bookmarklet, compatible with every modern browser with JavaScript support and a bookmarks bar.
Google Chrome: Use the AutoScroll Extension
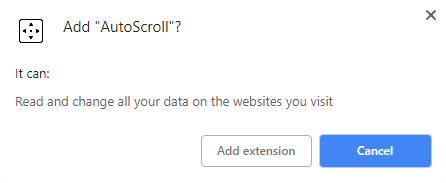
If you’re using Chrome, it’s much easier to use an extension built specifically for the browser to achieve this. We’ve found that no other Chrome extension is as good as AutoScroll when it comes to mimicking the auto-scrolling functionality of Windows’ middle-click. To install AutoScroll, navigate to the extension page and click the Add to Chrome button. When complete, you should see a multidirectional crosshair appear in your extensions bar, which is to the right of your address bar.
You’ll need to restart Chrome for the extension to work correctly. You can either do that by manually closing and reopening your browser or, if you’d like to preserve your tabs, you can type “chrome://restart” into your address bar and hit the Enter key.
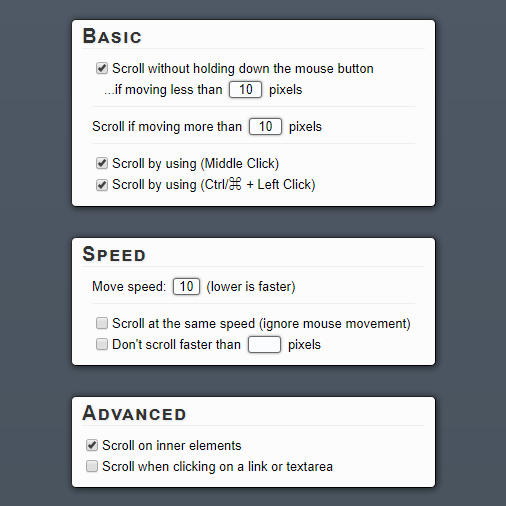
Upon restarting Chrome, right-click the AutoScroll extension icon and select Options.
The options here are all self-explanatory other than the ones in the Basic table. These options allow you to set a range of pixels that your cursor must remain within for auto-scrolling to activate. The only initial changes that we recommend making here are optionally disabling one of the two bottom options in the Basic table. If you already use the MMB (middle-click) or Ctrl+LMB (left-click) shortcuts for other things, you may want to disable one of them to prevent conflicts. After, test how AutoScroll feels by going to a website with scrollable content—I suggest Help Desk Geek. Press MMB or Ctrl+LMB to see if the extension is working. You should then see a bidirectional crosshair under your cursor. Despite it only visually displaying up and down as directions, you can also scroll left, right, and any way diagonally.
Other Browsers: Use the Autoscroll Bookmarklet
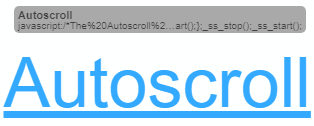
If you don’t use Google Chrome, or even if you do and would rather use a bookmarklet, there’s a solid solution for you. All that’s required is for your browser to support JavaScript and have a bookmarks bar. This includes, but is not limited to, Chrome, Firefox, Opera, Safari, and Internet Explorer. The Autoscroll bookmarklet was developed by Tim Harper in 2008 and still works today. To use it, simply enable your browser’s bookmarks bar, which is usually below the address bar, click and hold on the large “Autoscroll” link on the page, and drag it up into your bookmarks bar. If you’re having difficulty finding where to enable your bookmarks bar, right-click around the address bar area of your browser’s UI. You should see an option to enable it there, though it may be referred to as the favorites bar in some browsers.
If done properly, you should see a new bookmark in your bookmarks bar that reads “Autoscroll”. Shown below is how it appears in Firefox, but it should look similar in every modern web browser.
This little bookmarklet is powerful. To ensure that it’s working in your current browser, give it a click on any scrollable webpage. The default speed is very slow, but you should then notice it scrolling down. You can use the following keyboard shortcuts to control the Autoscroll bookmarklet while scrolling is in progress:
0–9 — Sets scroll speed (higher is faster) – (minus) — Decreases scroll speed = (equals) — Increases scroll speed Shift+- (minus) — Rapidly decreases scroll speed Shift+= (equals) — Rapidly increases scroll speed Q — Quits scrolling
Both of these solutions should provide you with all the tools you need to automatically scroll as you read, reach the bottom of an “infinitely” scrolling webpage, and whatever other purposes you need auto-scrolling for. Enjoy!


![]()


