We will show you a method for creating a shortcut you can use to quickly access the Safely Remove Hardware dialog box in Windows 7/8/10.
Create Shortcut to Safely Remove Hardware
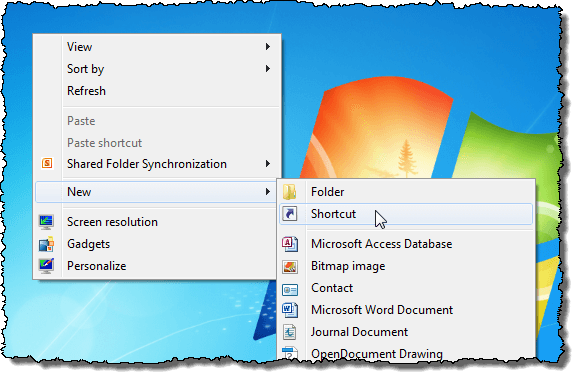
Right-click in any empty space on the desktop. Select New | Shortcut from the popup menu.
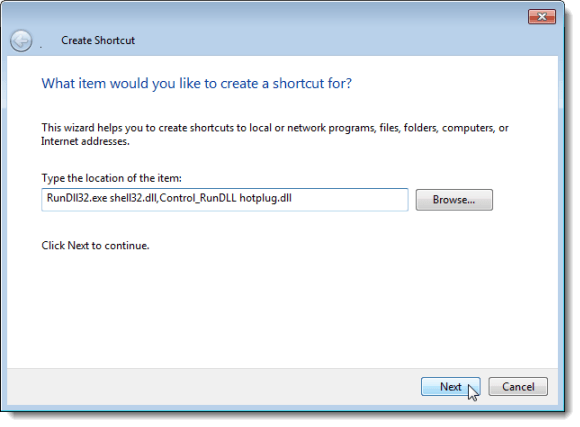
The Create Shortcut dialog box displays. Copy and paste the following line into the Type the location of the item edit box. Click Next.
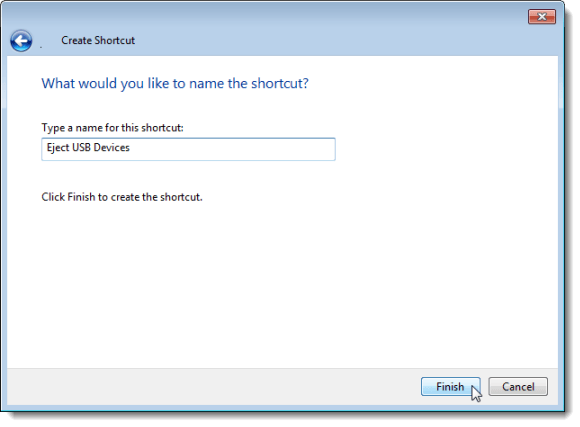
Enter a name for the shortcut in the Type a name for this shortcut edit box and click Finish.
The default icon for the new shortcut does not really represent the purpose of the shortcut very well. We went to http://www.iconfinder.com and searched for “usb” to find an appropriate .ico file that can be used as an icon for the shortcut and downloaded a free icon file.
Change Shortcut Icon
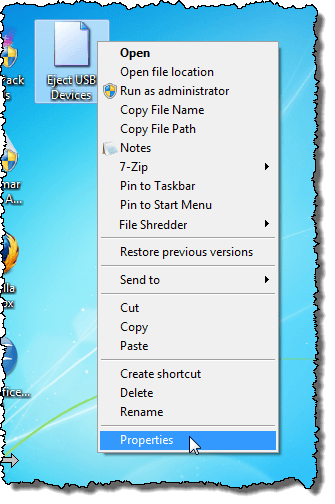
To change the icon for the new shortcut, right-click on the new shortcut and select Properties from the popup menu.
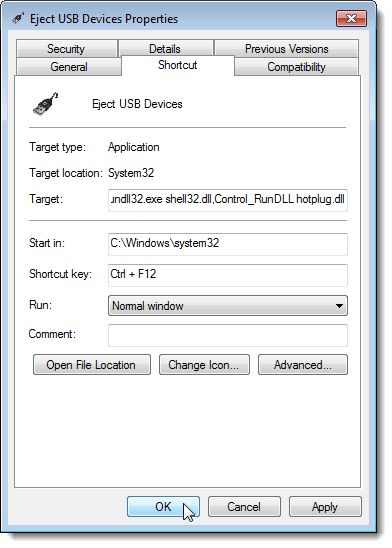
The Properties dialog box displays. Make sure the Shortcut tab is active and click the Change Icon button.
The Change Icon dialog box displays. To select a different icon, click the Browse button.
Another Change Icon dialog box displays for selecting an icon file. Navigate to where you saved the .ico file you downloaded, or to the location of the .icl, .exe, or .dll file containing the desired icon. Select the file and click Open.
You are returned to the Change Icon dialog box and the icon file you selected displays in the box. If you selected a file containing multiple icons (.icl, .exe, .dll), all the icons in that file display in the box. Click on the desired icon and click OK.
The icon displays at the top of the Shortcut tab on the Properties dialog box.
Create Keyboard Shortcut
You can also add a keyboard shortcut to run the shortcut you created. To do this, click the mouse in the Shortcut key edit box on the Shortcut tab on the Properties dialog box. Press the keys for the keyboard shortcut you want to use. The keys are automatically entered into the edit box. Click OK to close the Properties dialog box.
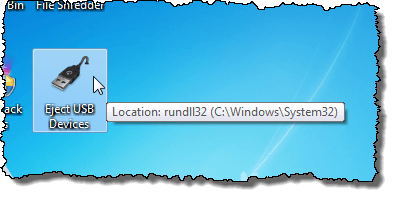
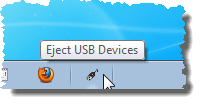
The shortcut with the custom icon is available on the desktop.
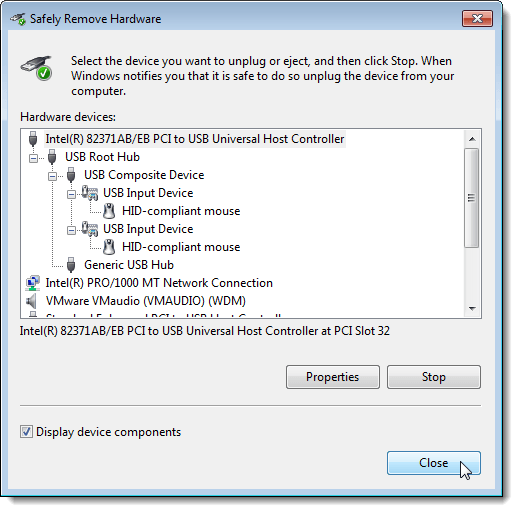
Double-click the shortcut to quickly access the Safely Remove Hardware dialog box.
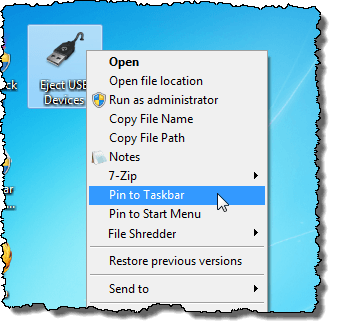
If you want to access the Safely Remove Hardware dialog box with only one click, you can pin the new shortcut to the Taskbar. To do this, right-click the shortcut on the desktop and select Pin to Taskbar from the popup menu.
The shortcut is now available on the Taskbar. Simply click it once to access the Safely Remove Hardware dialog box. NOTE: Remember you can also use the keyboard shortcut you defined for the shortcut.
You can create this shortcut in Windows 10 as well. It’s a little bit of work to setup, but it saves time when you have to eject USB devices from your computer. Enjoy!
![]()
![]()
![]()
![]()
![]()