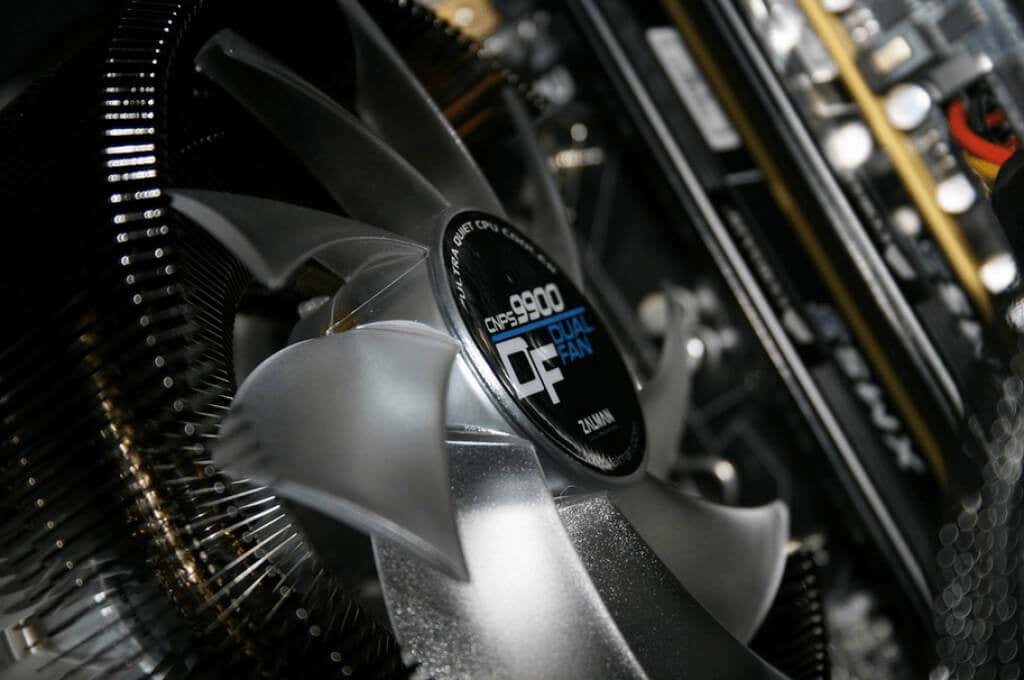
Cooling fans are absolutely necessary to keep your system cool, but they shouldn’t make your PC sound like an engine. To find the optimal balance between noise and cooling, you need to learn how to control the fan speed on your PC. Fan speed is often controlled automatically based on the hardware temperature. Your PC should be fairly silent when you’re browsing the internet, but it can get loud when you’re playing a demanding game. However, if your computer fans are loud all the time or fail to kick in and your CPU becomes hot, you can fix both issues quickly. This article focuses on several methods of controlling fan speed. If you’re having problems with your fans, first clean your computer properly because fans work extra hard when there is dust and grime. Once the hardware is clean, you can optimize fan speed to your liking by using one of our methods.
How to Control Fan Speed in the BIOS
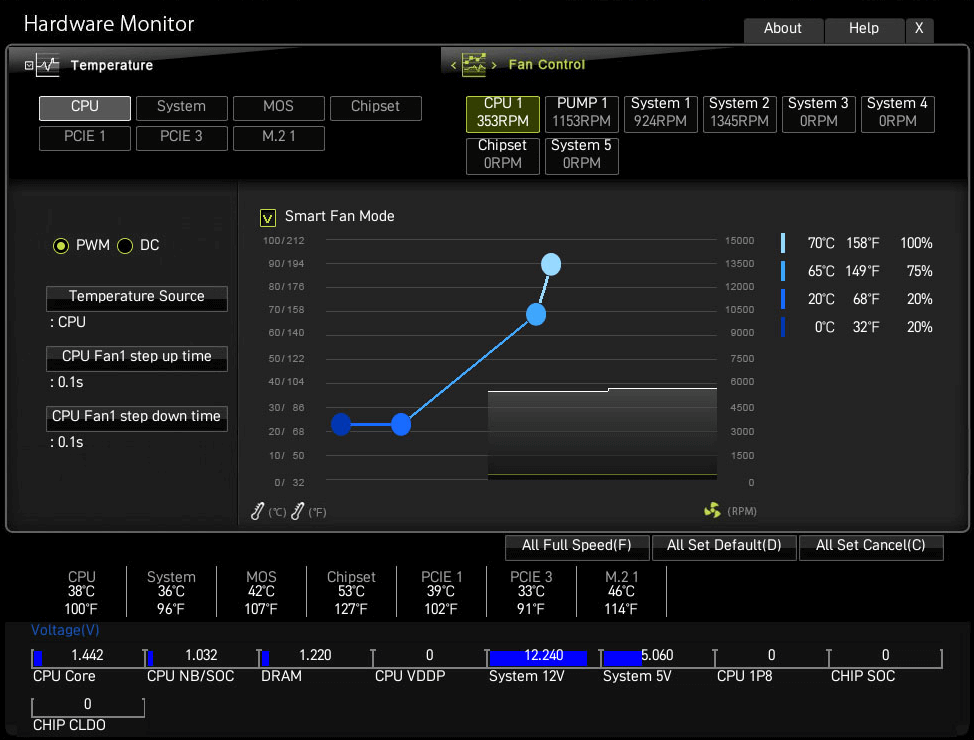
The most straightforward way to control fan speed is by making changes in the BIOS. If you don’t know how to enter BIOS, check our extensive guide before proceeding. Controlling fan speed in the BIOS depends on your PC or laptop. There are many BIOS versions, and each one has different menus and labels. You won’t find a fan speed control option in some cases because the BIOS doesn’t support this feature. Some Lenovo Legion laptops are the perfect example of this. You can’t control fan speed because they run continuously and use the TDP (Thermal Design Power). However, in most BIOS versions, you need to scroll through the menu until you find a menu called “Monitor”, “Status” or something similar, depending on the manufacturer. In the submenu, you’ll find a Fan Speed Control or Fan Control option. The label and the location of the submenu depend on the manufacturer. The image above is an example of the fan speed control curve you might find with an MSI motherboard. Move the points to adjust fan speed based on temperature intervals. The image below shows the fan speed control menu in the BIOS from Gigabyte, the principal being the same.
How to Control Fan Speed with Software
If you’re uncomfortable making changes in the BIOS, look into software options. Many programs allow you to control your fans by deciding how fast they should spin at specific temperatures. Such software also lets you track your hardware’s temperature, voltages, and fan speeds, which can tell you when it’s time to clean your PC. However, adjusting fan speeds in the BIOS is still the most recommended option. If you mess anything up, you can always reset to the default settings.
SpeedFan
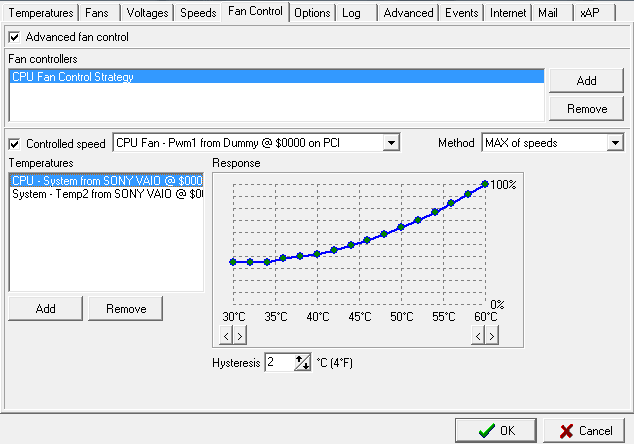
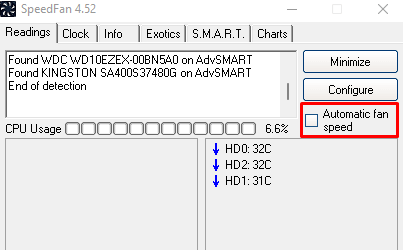
SpeedFan is a powerful tool and extremely popular because it offers many features while being completely free. Its user interface looks outdated and rudimentary by today’s standards, but SpeedFan offers a lot. As one of the oldest tools of this kind, it lets you monitor your hardware temperatures, voltages and make fan speed configurations. It’s free and easy to use. You can select each fan and then make adjustments to the response curve. If you’re mostly browsing or performing other non-demanding tasks, you can make your computer very quiet by lowering the fan speed for low-temperature ranges. If you don’t want to bother with manual configurations, but your default fan speeds are out of control, you can enable SpeedFan’s Automatic fan speed setting. Note that this software doesn’t support all available motherboards, which means it might not detect your PC fans, so you won’t be able to make any configurations. In this case, you should either make the changes in the BIOS or use a fan controller.
MSI Afterburner
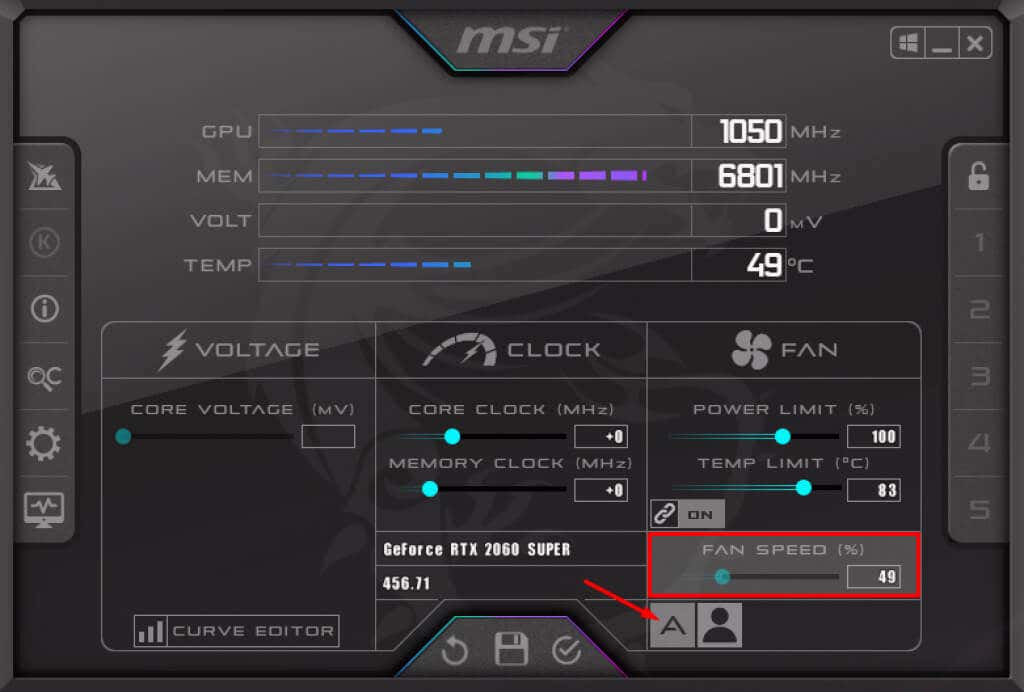
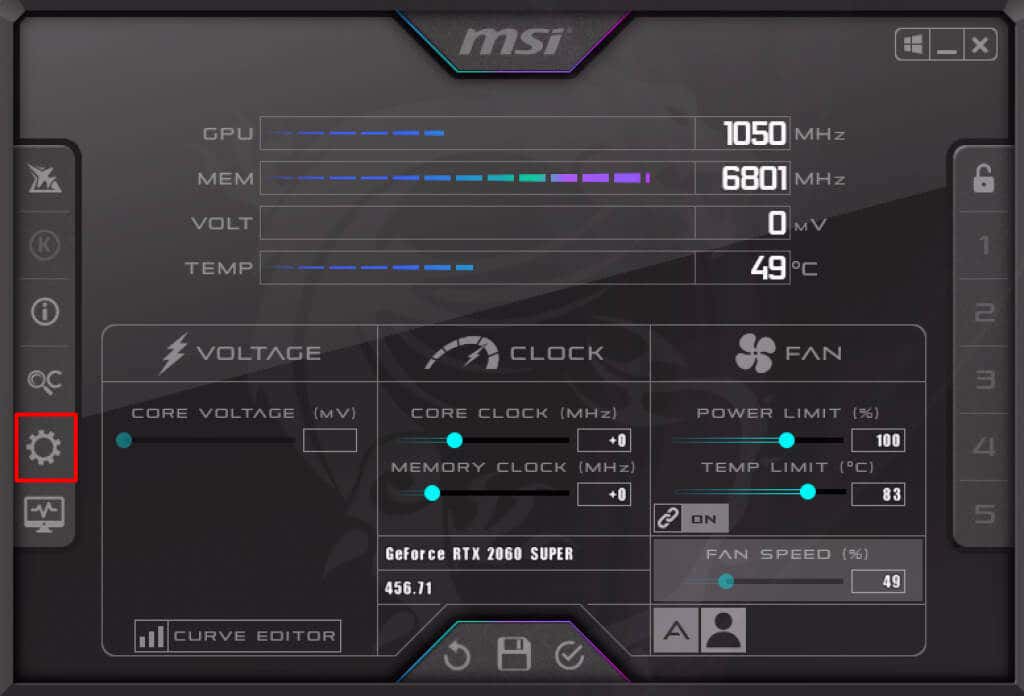
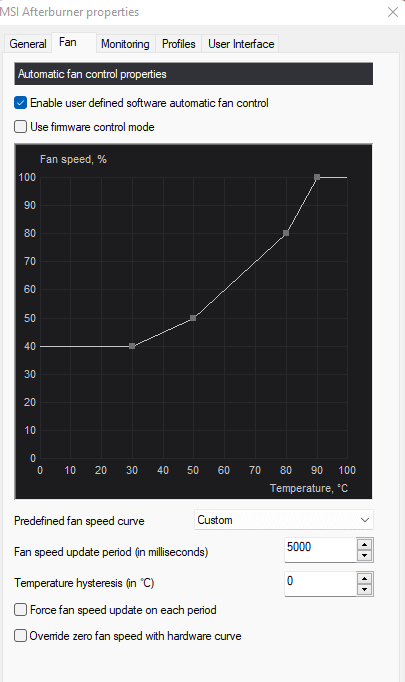
One of the essential fans under your control is the GPU fan. Depending on your graphics card type, it might have 1, 2, or even 3 fans. If the fans aren’t configured or managed correctly, your PC might sound like a jet engine even though your GPU is under light load, which is where a tool like MSI Afterburner comes in. MSI Afterburner is famous in gaming circles for being an overclocking tool, allowing you to control GPU fan speed. By default, your fan speed is set to automatic, which should fix any GPU fan speed problems you might have. If you’re not happy with the speed, you can make a simple manual adjustment by clicking on the A-looking symbol to disable Auto mode and increasing or decreasing fan speed by moving the slider. Note that the fan will work at the set speed no matter the temperature. If you set a low speed, you need to be careful when playing a game that demands a lot from your GPU. Alternatively, MSI Afterburner also comes with a fan speed curve. To access it, click the Settings button. In the Fan tab, you’ll find the fan control speed curve. Just like SpeedFan’s fan speed curve, the graph represents fan speed and temperature. Move the points up-down or left-right to adjust the fan speed based on specific temperatures.
How to Control Fan Speed with a Fan Controller
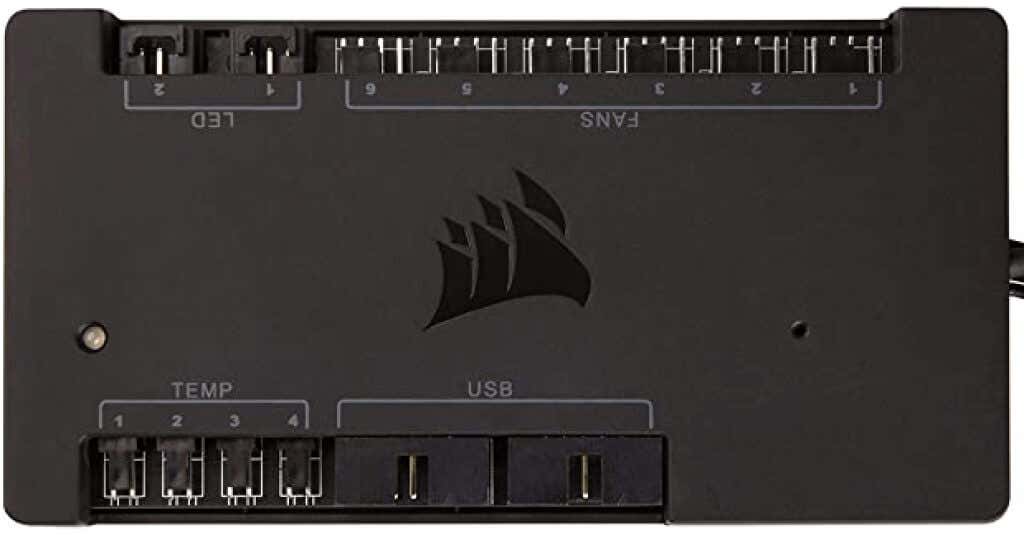
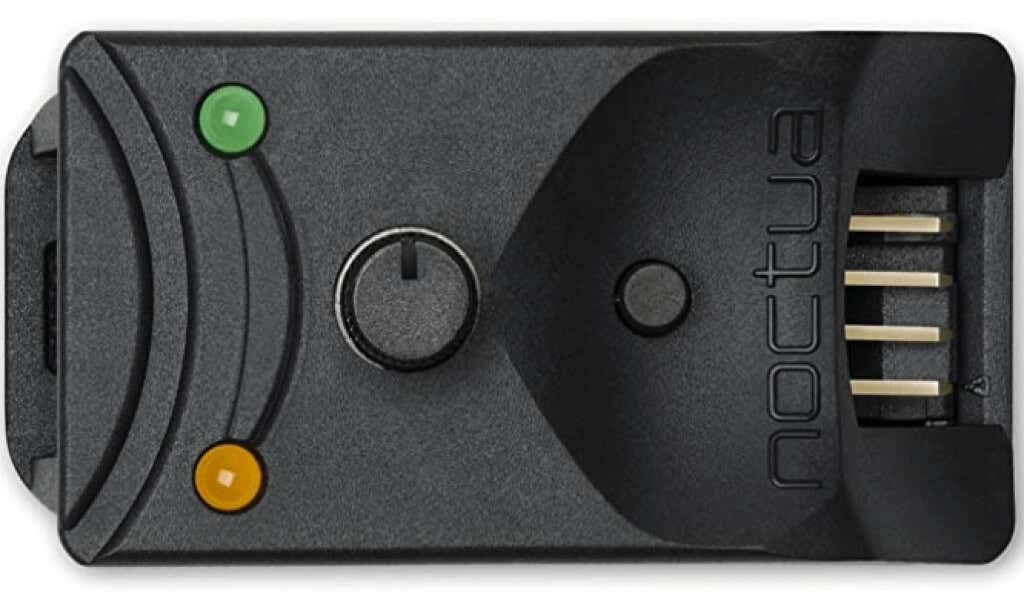
Computer hardware has become a lot more powerful in the past few years, but power generates much heat. Demanding CPUs and GPUs increase the ambient temperature inside the case, negatively impacting other components like hard drives or the motherboard. You need extra cooling fans to improve airflow, so having a setup with 3, 4, or more case fans is quite normal, which also makes fan controllers important. Fan controllers are useful, but many PC builders overlook them. Changing fan speed settings inside the BIOS can be bothersome, and using software isn’t always the best solution due to support issues. A fan controller helps you control your fans and organize them. Fan controllers, like in the image above, let you connect multiple fans. Instead of connecting them to the motherboard or the PSU, you plug them all into the controller. Then you can use the controller’s software to adjust the fan speed. Some fan controllers come with physical controls like a touch screen or dials that let you manually control your fans. Choose the fan controller type that suits your needs. Which fan speed control method do you prefer? Let us know in the comments below!
