In Adobe Premiere Pro, sequences are smaller video projects within your main project. This is a way to organize scenes in longer videos, create different “drafts” of your video, or keep a connected series of videos all in one place without having to start an entirely new project. Sequences may seem daunting, but once you know how they’re used they can be a great tool for any video editor.
How to Create a Sequence
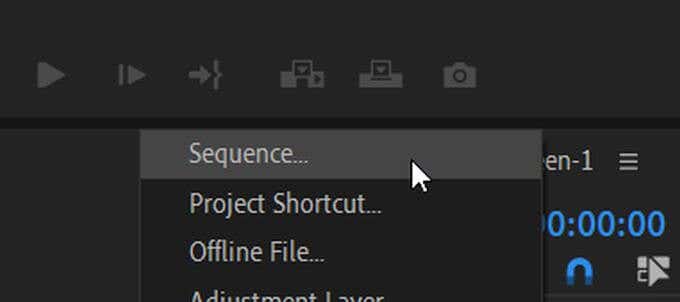
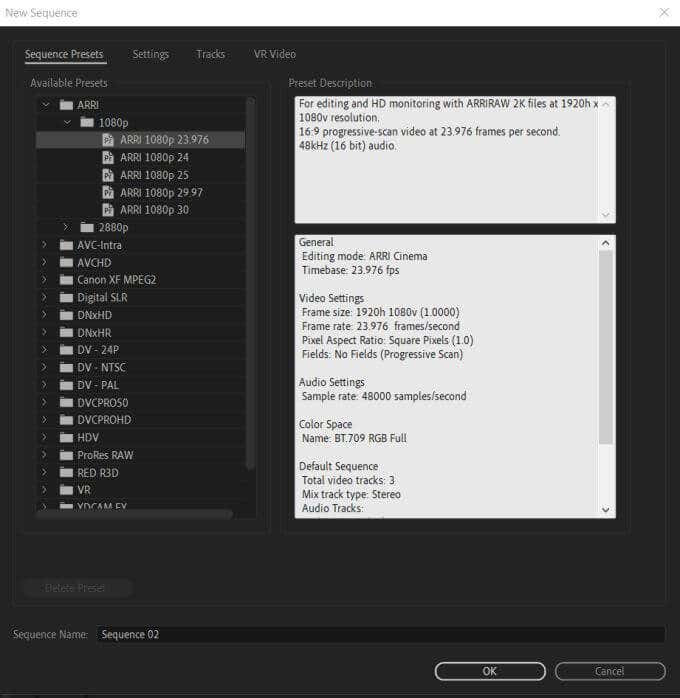
Making a new sequence is easy to do once you have your Premiere project opened up and your videos ready to go. Here’s how to create a sequence. If you’re not sure what kind of sequence settings to choose, it’s okay to choose any of them. If the clip you add doesn’t match, you can have Premiere adjust the sequence settings to automatically match the clip. Another way to create a sequence is by using a clip you have, and Premiere will choose the sequence settings based on the clip. This is a simple and quick way to create a new sequence with sequence settings matching your clip. Sometimes, though, you might want to keep the same sequence settings when you add a clip, and you can do this by selecting Keep Existing Settings when you see the pop-up window.
How to Combine Sequences
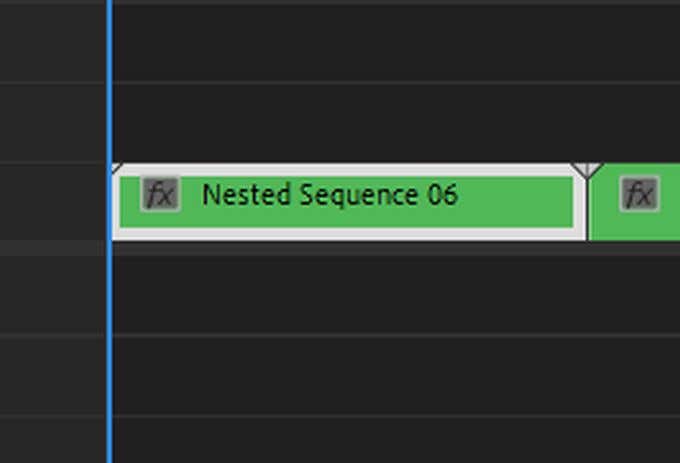
If you want to put all your sequences together into one, single timeline, it’s possible to do this as well. This is good to do when you’ve just about finished editing your sequences, and want to put them into a master sequence to keep things organized. This process is called nesting – as you’re essentially “nesting” one sequence into another to combine them as one video. Here’s how to do this: Once all your sequences have been combined, it’s much easier to play all your videos or scenes sequentially, as a whole.
How to Edit and Delete Sequences
If you’re using sequences, it’s also important to know the ins and outs of editing them. You may, for example, want to change some of the settings or maybe delete an unwanted sequence.
Editing Sequences
To edit aspects of your sequences, navigate to the top bar in Premiere and select Sequence. You’ll see a drop-down of options for you to change in your sequence. At the top, you can choose Sequence Settings to directly change them. This will only change the settings of the sequence you’ve selected, so make sure you’ve selected the right one before going into the settings and changing them.
Subsequences
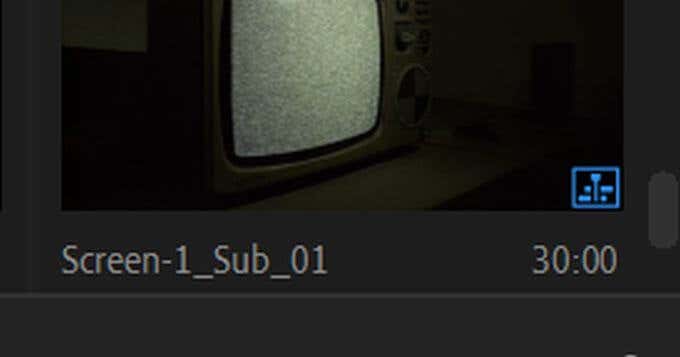
You can also create what are called subsequences, which function very similarly to nested sequences. They will not alter the clips on your actual timeline in any way and instead will be created separately in your Project panel. To do this: A nested sequence will take all the clips from your sequence and change it into a nest. You’ll just have to double-click on the nest in order to edit your clips again.
Deleting a Sequence
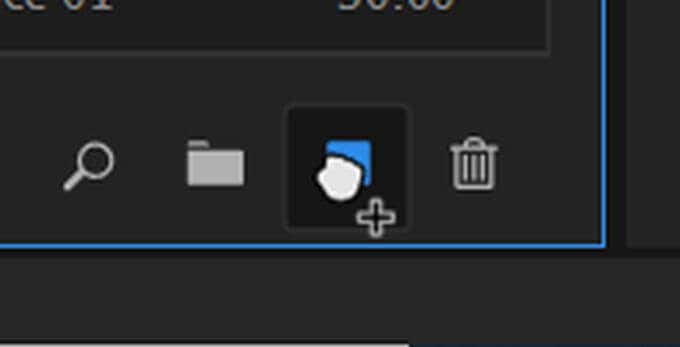
If you decide you no longer want a sequence on the timeline anymore, it’s very easy to delete them.
Select all the clips within the sequence and hit Backspace to delete them.
At the top of the timeline find the sequence title and click the small x beside it. This should remove the sequence from view.
If you’ve nested the sequence somewhere else, you can still double-click on it to open it in the timeline again.
To delete a nested sequence, simply select it in the timeline and hit Backspace.
Using Sequences in Adobe Premiere Pro
Once you get the hang of using sequences, they can act as a very powerful tool for your workflow when you have long, arduous projects. It provides a great method of organization and helps you keep everything straight, without having to create extra Premiere projects. Hopefully, this guide helped you get a grasp on how sequences work in Premiere and you can start utilizing them in your own editing projects.