Unfortunately, the Chromium browser has found itself being used for malicious reasons. Unless you download it from the Chromium project website, you may find it bundled with malware and other dangerous content, leaving it unable to be removed. If you want to uninstall it, here’s how to uninstall Chromium.
How To Uninstall Chromium Using Windows Settings
If you installed Chromium yourself (using a software installer), you shouldn’t have much trouble removing it using the Windows Settings menu.
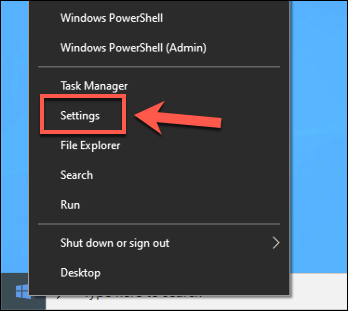
To start, right-click the Windows start menu and click Settings.
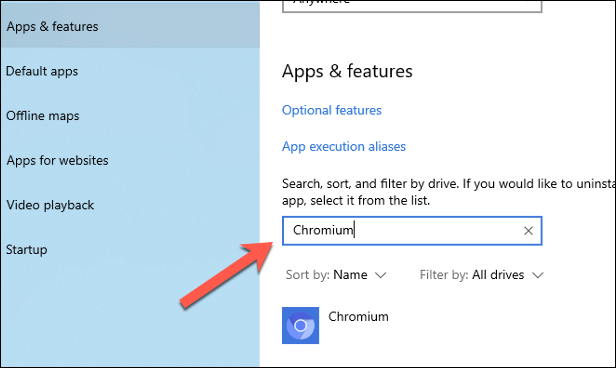
In the Windows Settings window, press Apps > Apps & Features. In the search bar, search for Chromium.
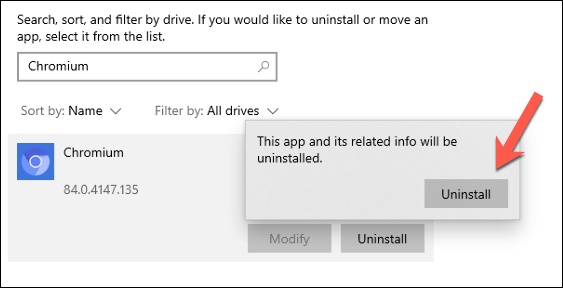
Click the Chromium entry, then press Uninstall > Uninstall to remove the browser.
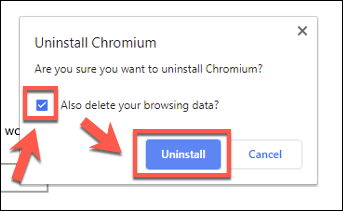
In the Uninstall Chromium window, click the Also delete your browsing data checkbox to ensure that all personal data is removed when you remove the browser. Click Uninstall to begin the removal process.
The uninstall process should only take a few seconds to complete. Once it’s completed, the Chromium entry should be removed from the Apps & features list and should be completely uninstalled at this point.
Manually Uninstall Chromium Using Windows File Explorer
While Chromium can be installed, it can also come bundled as a ZIP file or included with other software. This means it may not appear in Windows Settings for you to uninstall Chromium automatically. This is likely to be the case if Chromium has been included as part of an adware or malware package. You’ll need to first locate the Chromium installation folder using Windows File Explorer, then remove it (and other remnants) manually.
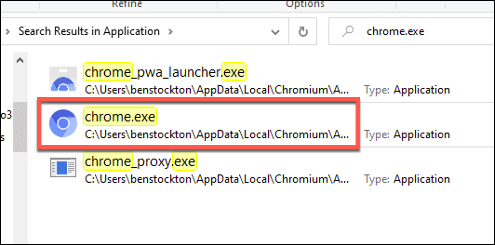
To do this, open Windows File Explorer and, using the search bar, type Chromium.exe or Chrome.exe. This will search your PC for the Chromium browser executable file (and the Chromium installation directory). You’ll be able to determine the difference between the Google Chrome and Chromium executables by looking at the logo color—Chromium uses an all-blue logo, while Chrome uses red, yellow, and green.
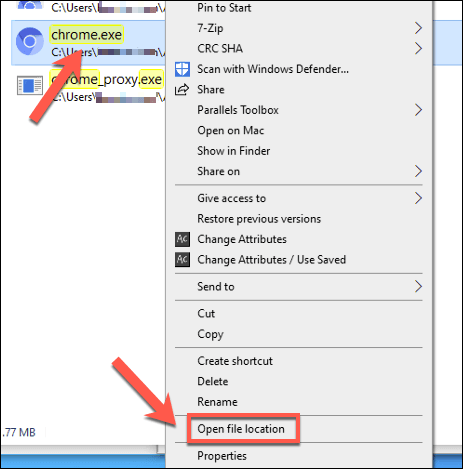
The search may take some time to complete. Once Windows File Explorer has found the correct file, right-click the entry in the search results and press Open file location.
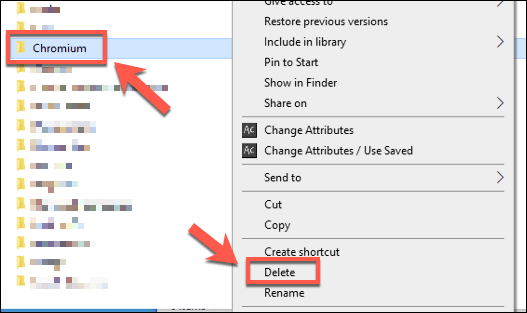
This will open the folder with the Chromium executable file. You may want to use the path URL bar at the top to move up by one or two folders until you can see the main Chromium folder. Right-click this, then press Delete to delete it from your PC.
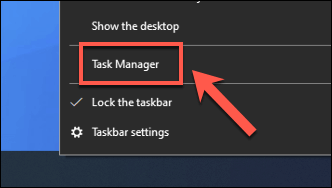
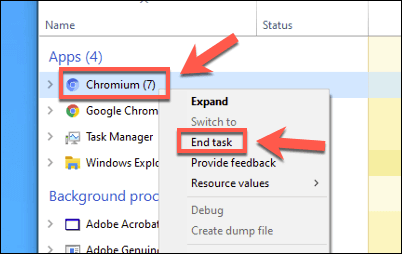
If you can’t delete the Chromium folder, it may be because the software itself is still open. Right-click the task bar and press Task Manager to resolve this.
In the Task Manager window, locate the Chromium process. Right-click the entry, then press End task to force it to close. Repeat the steps above to remove the Chromium folder once Chromium has been closed.
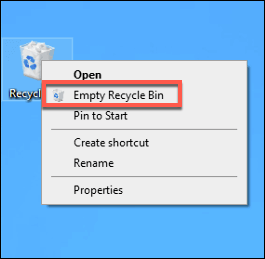
Once deleted, you’ll then need to permanently delete the Chromium folder by emptying your Recycle Bin. Locate the Recycle Bin icon on your desktop, then right-click > Empty Recycle Bin to completely remove it.
Using Third Party Software Remove Software To Uninstall Chromium
Manually removing Chromium is one option to deal with a rogue installation of this open source browser, but if you’re struggling, you may prefer to use third-party software to remove it instead. For instance, you could use the open-source Bulk Crap Uninstaller to remove Chromium from your PC. This will help you find and locate software that you would otherwise be unable to remove (like Chromium).
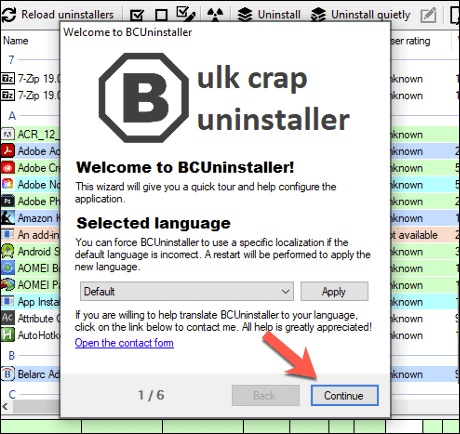
Download and install the Bulk Crap Uninstaller to begin. When it first runs, it will scan your files and Windows Registry entries to find installed software on your PC. In the Welcome to BCUninstaller introduction window, select your language, then click Continue to proceed.
Confirm your program settings at each stage. For instance, if you want to highlight certified installers (with appropriate software certificates), click the Highlight certified uninstallers checkbox before clicking Continue.
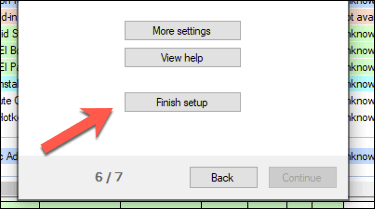
Once you’ve confirmed your settings, click the Finish setup button.
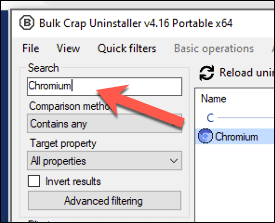
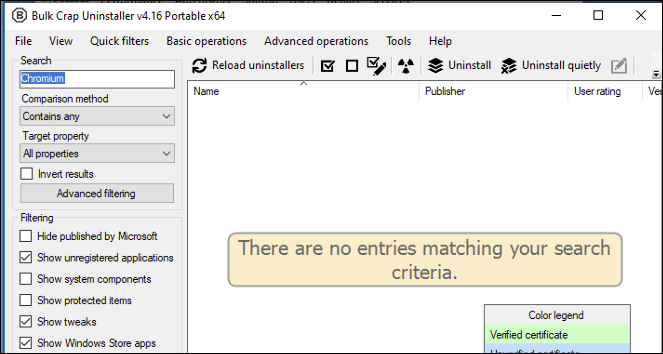
A list of installed software will appear in the main Bulk Crap Uninstaller apps list. You can scroll through this manually, or use the Search bar in the top-left to search for Chromium.
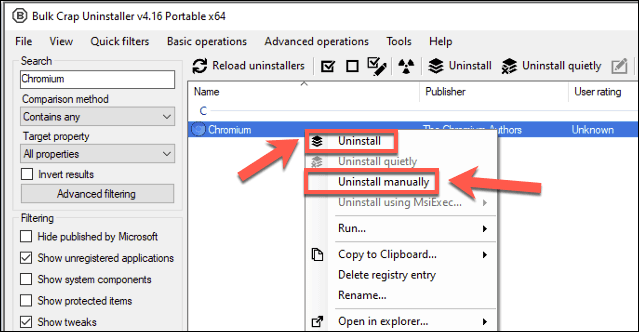
The Bulk Crap Uninstaller should narrow your list down to show only the Chromium entry. If you trust the included Chromium uninstaller, right-click and press Uninstall. Otherwise, right-click and press Uninstall manually to allow the Bulk Crap Uninstaller to remove it for you. This is probably the better option if you suspect Chromium has been installed with malware.
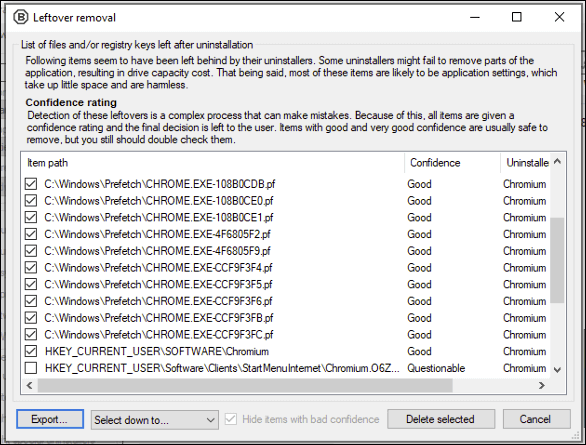
If you select the Uninstall manually option, the process of removing Chromium will begin. A list of potentially leftover folders, files, and Windows Registry entries will appear in the Leftover removal window first.
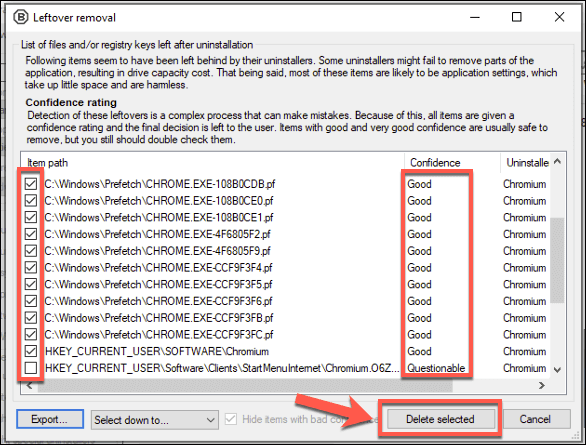
If the software is confident that it is safe to remove these entries, it will automatically select them, giving them a Very Good or Good confidence rating. For other entries (labelled Questionable), it isn’t sure whether removing these is safe, but you can select them anyway by clicking the checkbox next to the entry. Once you’re happy to proceed, click the Delete selected button.
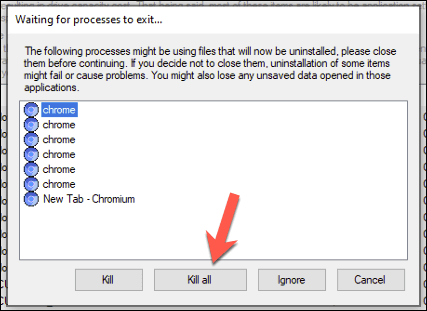
The Bulk Crap Uninstaller will attempt to delete the files, folders, and Windows Registry entries that it detected. If Chromium is still running, it’ll ask you to forcefully close it—click Kill all to do this.
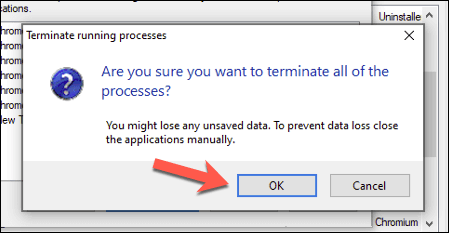
Click OK in the Terminate running processes data loss warning window to terminate the running Chromium processes.
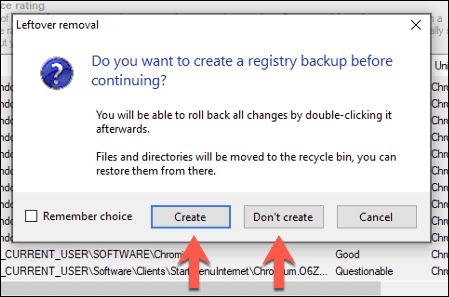
The Bulk Crap Uninstaller will ask you if you want to create a Windows Registry backup first, allowing you to roll-back any changes if the wrong entries are removed. Click Create to do this, or Don’t create to continue without creating a backup.
The Bulk Crap Uninstaller will begin uninstalling Chromium at this point, regenerating the software list once the process has completed. The Chromium entry will be removed from the installed software list at this point, allowing you to confirm that the software has been removed.
With Chromium uninstalled, you may wish to run a malware scan using Windows Security or your own antivirus or antimalware provider to ensure that any bundled malware has been removed completely.
Removing Unwanted Software On Windows 10
Once you know how to uninstall Chromium, you don’t need to panic if the browser pops up again. In many cases, uninstalling it from the Windows settings menu should be enough, but you may need to use your antivirus software or a third-party removal app like Bulk Crap Uninstaller to deal with the problem for you. If you’re using Windows Security, you can set up a scanning schedule to help protect you against malware issues automatically. If that doesn’t work, and you can’t rid yourself of rogue software, you may need to think about resetting Windows to start again with a clean slate—just be careful what apps you download in the future.