While Skype is available on your device, it doesn’t mean it’s the best service you can use for video conferencing or voice calls. Plus, not all its users were happy with the changes that came after Microsoft acquired Skype in 2012. A number of users even started migrating to alternative services. If you find that Skype is taking up too much space on your computer, or you just can’t use it for some reason, you may want to get rid of it. Read on for instructions on how to uninstall Skype on Windows 10.
How To Uninstall Skype On a Windows 10 Computer
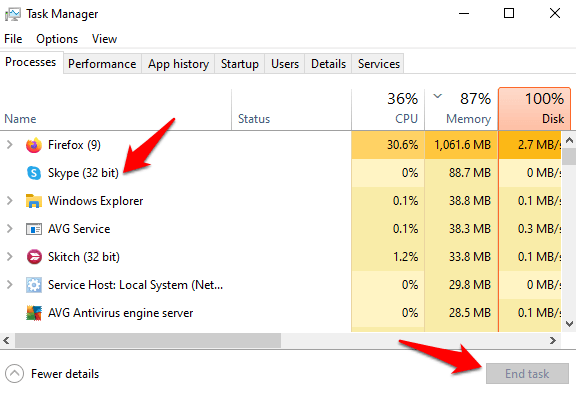
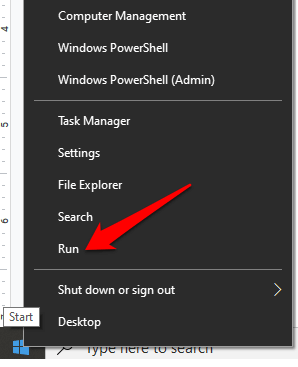
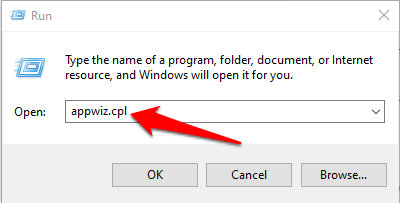
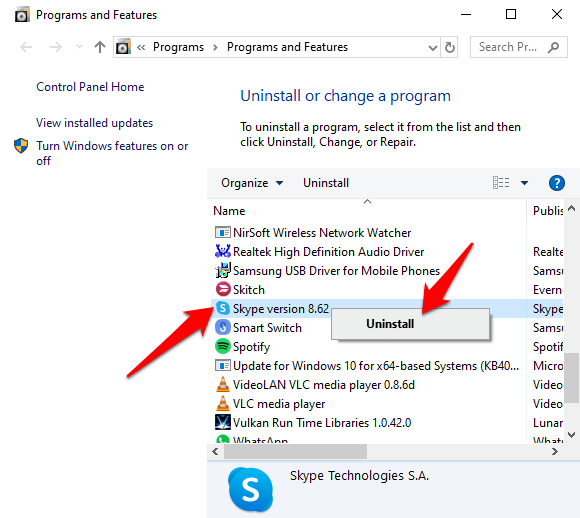
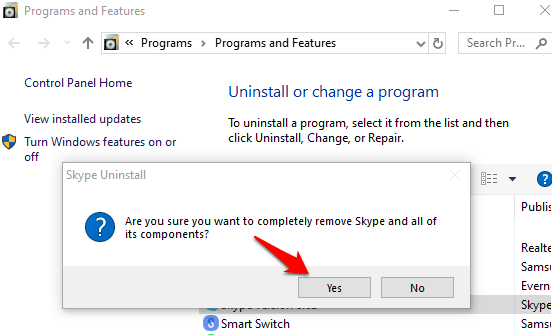
If the Skype icon is on your taskbar, right click it and select Quit Skype, and make sure the app is not running in the background. A quicker way to uninstall Skype on Windows 10 is to type “Skype” in the search bar, and then click Uninstall from the app’s menu on the right. If you don’t see the Uninstall option, click the down arrow to expand the menu. In the Uninstall or change a program window, find Skype in the list, right-click on it and click Uninstall. You’ll get a popup asking “Are you sure you want to completely remove Skype and all of its components”. Click Yes to confirm the action and wait for the uninstallation to complete.
How To Uninstall Skype On a Mac
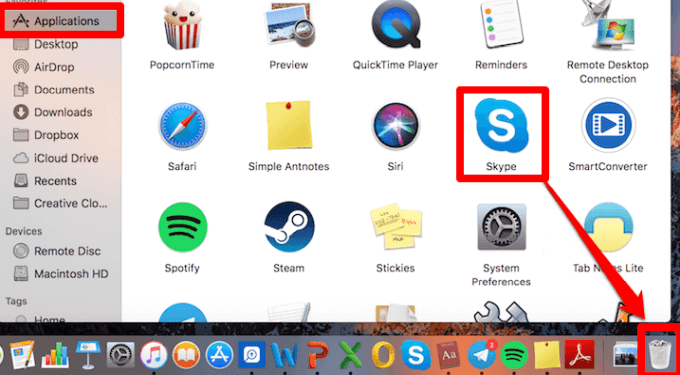
It’s just as easy to uninstall Skype on your Mac laptop as it is on a Windows computer using these steps: Alternatively, you can open ~/Library/Application Support, look for the Skype folder and then drag it to the trash. If you don’t see the Library folder, use the Go menu, select Go to Folder…, and then type ~/Library/Application Support.
How to Uninstall Skype for Business
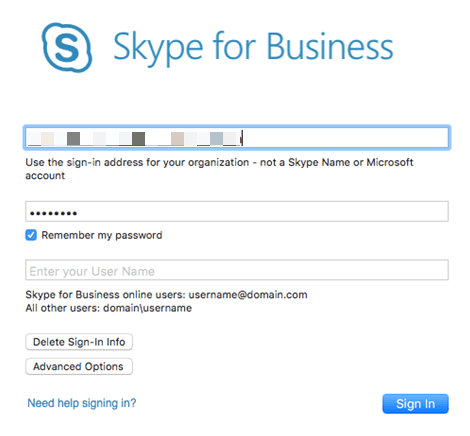
Skype for Business has been replaced by Microsoft Teams, which has all the key capabilities of Skype for Business Online along with new video, voice, and meetings innovations. The app is still part of the Office 365 Suite, but Microsoft is encouraging Microsoft 365 and Office 365 users to deploy Teams independently or alongside Skype for Business. Skype for Business online customers will continue to use the service through the retirement date of July 31, 2021. If you want to uninstall Skype for Business in Windows 10, you can do so using the Control Panel or third-party uninstaller software.
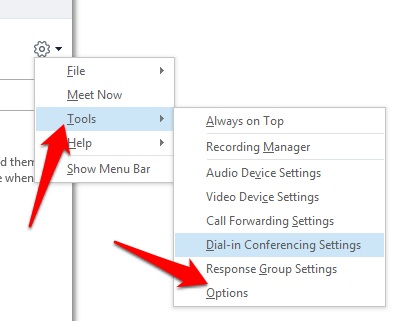
How To Uninstall Skype For Business Using Control Panel
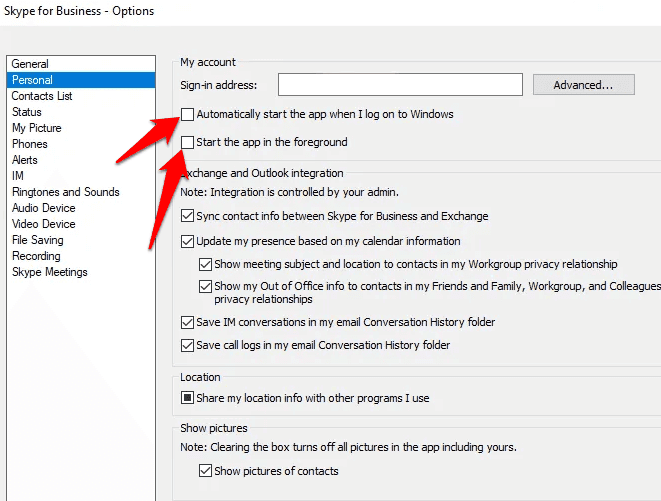
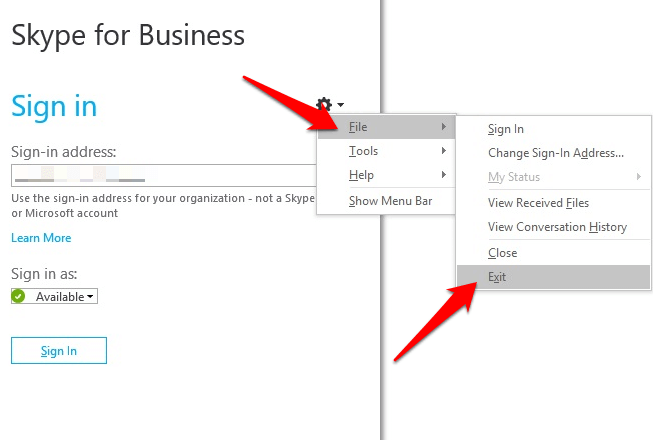
Note: If you have the Microsoft 365 version of Skype for Business, you can’t remove it on its own. This is because the app is integrated with other Office apps, meaning removing it would delete and remove the rest of the Office suite. If you’re using the standalone version of Skype for Business, use these steps to uninstall it from your Windows 10 computer. To uninstall Skype for Business on a Mac computer, sign out of the app and then close the sign in page. Press Control and click the Skype icon at the same time. Select Quit to close the application. Open Finder > Applications > Skype for Business and drag it to the Trash.
Get Rid Of Skype For Good
If you’re tired of using Skype and want to stop using the service for good, the instructions above will help you with that. However, if you still want to use Skype without installing anything, the stripped-down web version of the app offers the functionality you need to communicate with your contacts. There are many alternative VoIP services that you can use including conference calling, sharing your screen, and more. Were you able to uninstall Skype or Skype for Business using the steps above? Share your experience with us in the comments.