The Windows 10 sandbox requires a PC or laptop with the system resources capable of running virtual machines, including (at minimum) a dual-core processor, 4GB RAM and 1GB of disk space. You’ll also need to enable virtualization in your system UEFI or BIOS settings before you begin.
What Is The Windows 10 Sandbox?
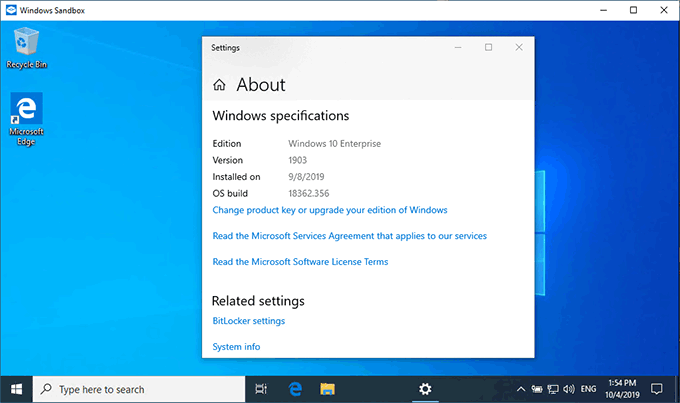
Windows 10 version 1903 includes the Windows Sandbox, but if you’re running Windows 10 Home, you won’t be able to use this feature. It’s only available for users with Windows 10 Pro, Enterprise or Education. Rather than install Windows in its own virtual machine using software like Virtualbox, the Sandbox gives you a completely independent, isolated, and temporary Windows 10 environment. Every time you start the Windows 10 Sandbox, a new Windows 10 desktop appears. It’s optimized for speed and security, with a much smaller footprint than you’d find with a typical Windows 10 virtual machine. There’s no interaction between the Sandbox and your standard Windows 10 installation, making it a safe place to test software or open suspicious files without putting your own installation at risk. When you close the Sandbox, everything within is completely wiped. If the Sandbox is compromised, all you have to do is close it and reopen it to start again.
Potential Windows 10 Sandbox Conflicts
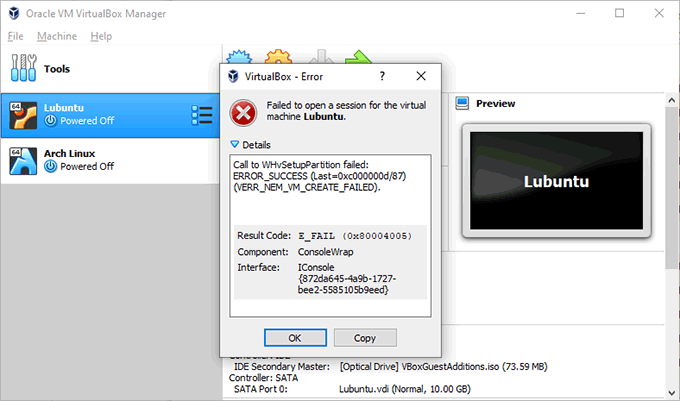
A word of warning for users of Virtualbox or other virtual machine software. With the Sandbox enabled, you won’t be able to use or run other virtual machines, whether the Windows Sandbox is running or not. This is because the underlying methods that Windows Sandbox uses conflicts with other virtualization software. While walkarounds have been posted on the Virtualbox forum, these aren’t official and they aren’t guaranteed to work. This conflict won’t affect everyone, but it is something to think about, especially if you run Linux or other operating systems in a virtual machine. If that’s the case, you may need to look at running Linux on Windows 10 using the Windows Subsystem for Linux instead. The Windows Sandbox will be an otherwise useful replacement if you currently run other Windows virtual machines.
Checking Virtualization Is Enabled
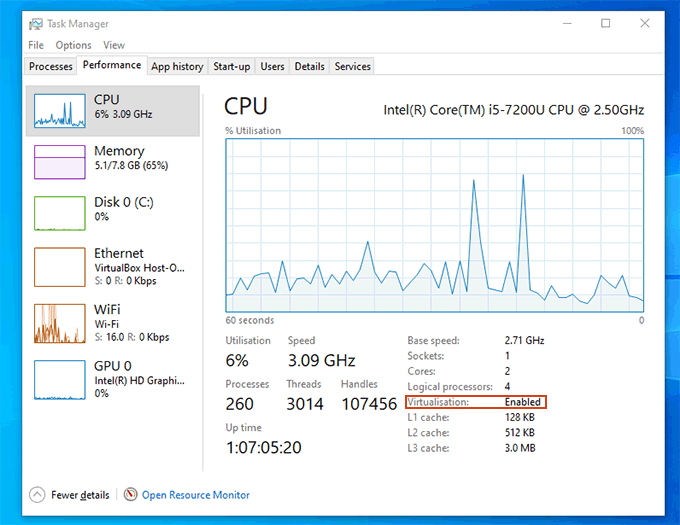
The first thing you need to do is ensure that virtualization is enabled on your PC to allow Windows 10 Sandbox to work. You can quickly double-check if virtualization is enabled by accessing the “Performance” tab in Windows Task Manager.
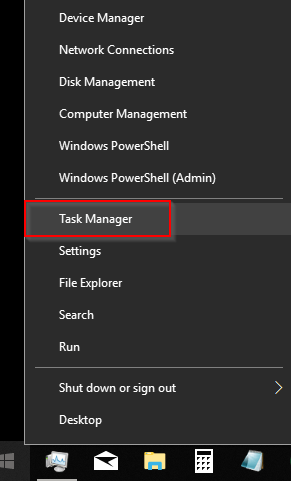
To access the Task Manager, hit Ctrl + Shift + Esc on your keyboard, or right-click your Windows taskbar and click Task Manager.
Under the CPU section of Performance, you’ll see a list of current information about your processor. For the Sandbox to work, Virtualization needs to show as Enabled.
If it isn’t, double-check your BIOS or UEFI settings, confirm virtualization is enabled, and then reboot.
Setting Up The Windows 10 Sandbox
Once virtualization is enabled, you’re ready to activate the Windows Sandbox. As a reminder, this won’t be possible if you’re running Windows 10 Home. You’ll need to switch to a higher version of Windows before you can proceed. Windows allows you to enable or disable various Windows features from the Windows Features menu. This used to be accessible from the Control Panel, but the Control Panel is outdated and largely hidden in modern Windows 10 versions.
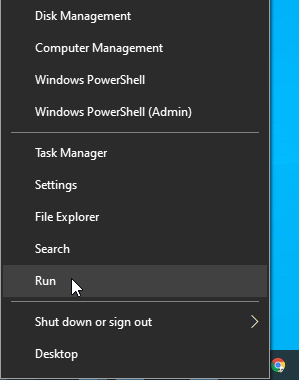
To access Windows Features, right-click your Windows Start Menu button and click Run to bring up the “Run” command box. Alternatively, hit Ctrl + R on your keyboard.
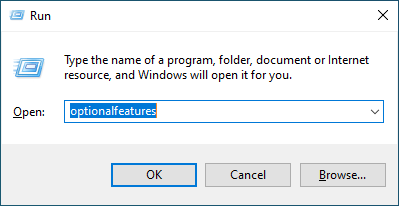
Type optionalfeatures in the “Run” command box and click OK.
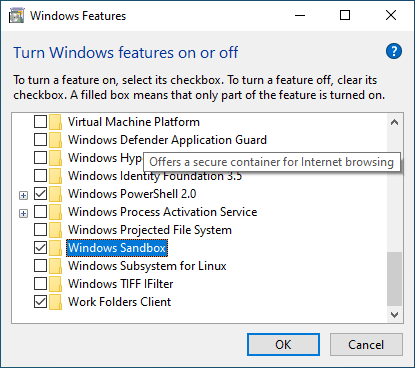
In the Windows Features menu, scroll to the bottom and click the checkbox next to Windows Sandbox before clicking OK.
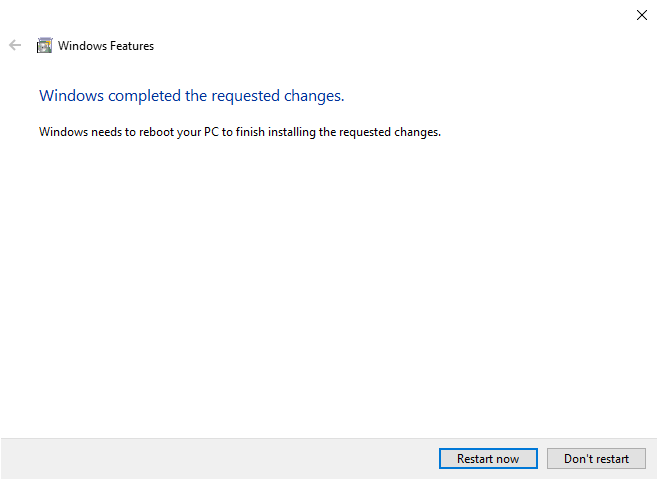
Windows will install and activate Windows Sandbox. Once this process is complete, Windows will tell you that you need to reboot. Click Restart now to begin this process.
This may take a few minutes to complete, as Windows will complete the configuration and installation process before and after the reboot.
Creating a Windows Sandbox Configuration File
It’s possible to configure the Windows 10 Sandbox before launch by creating a configuration file using the XML file format. It’s important to stress, however, that you don’t need to do this. Windows Sandbox will work without any extra configuration required. Configuring the Sandbox can offer some advantages, however. A custom configuration file allows you to enable a virtualized GPU for better graphics performance, for instance. If you plan on using the Sandbox regularly, you can create a shared folder between it and your host Windows 10 installation to easily share common files (like installation files). You can also disable networking on your Windows Sandbox to isolate it completely. A Windows development post offers more guidance on how to create your Windows Sandbox configuration file.
Starting The Windows Sandbox
Once your PC has rebooted, you should be ready to start using the Windows Sandbox.
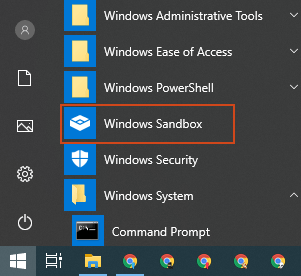
Tap your Windows Start Menu button. In the Start Menu, scroll down and find the entry for Windows Sandbox before clicking it. Alternatively, hit Ctrl + R on your keyboard and type windowssandbox before clicking OK.
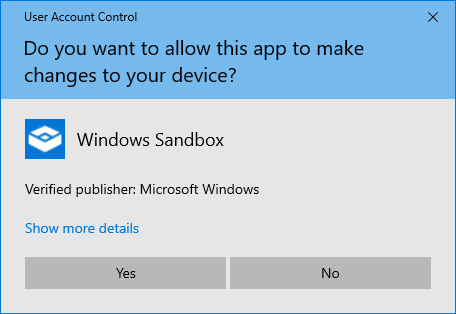
Windows may display a User Account Control pop-up, asking you for permission to allow the Windows Sandbox to make changes. Click Yes to proceed.
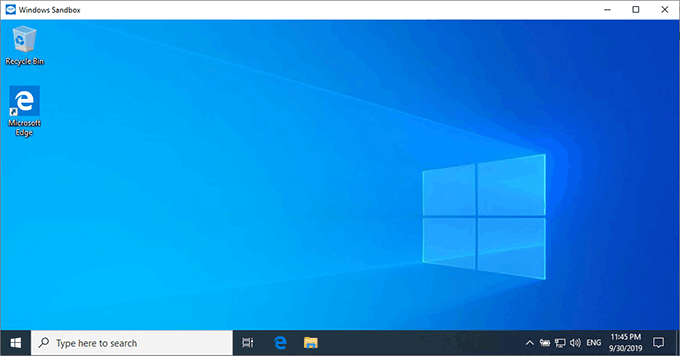
The Windows Sandbox should start to load at this point. The time for it to fully load may vary, depending on your system resources. You should see your Sandbox environment appear in a windowed app once loading is complete.
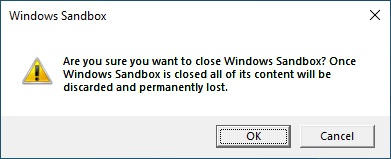
When you’re finished with the Windows Sandbox, close it like you would any other program by clicking the Close button in the top-right of the screen. If you decide to exit the Windows Sandbox, you’ll be warned that closing it will cause you to lose everything saved within. Click OK if this is what you desired, otherwise click Cancel.
When you’re using the Windows 10 Sandbox, you’re free to use it like any Windows 10 installation. You can open the Microsoft Edge browser to access the internet and download software, or access Windows features and other pre-installed apps. When you’re finished, closing it will wipe it completely, ready for you to use again in the future.
