Turning the clock back, browsers weren’t quite as “loud” as they are today. Toolbars were around back then, but plugins and extensions are more powerful now than ever. Today, your browser can do a lot of cool things for you—including notifying you for just about any purpose you can think of. However, functionality at this level can often create a “loud” browser. As the lifespan of your browser’s user profile extends and you visit more websites, your notifications can begin to get a bit hectic. If you’ve ever booted up Google Chrome to a long list of notification events that occurred since you last closed it, you know what I mean! So, how do we take back our browser and make it quiet again? In this article, let’s talk about how we can stop a website from sending notifications in Google Chrome. First, though, let’s learn more about them.
What are Chrome Notifications?
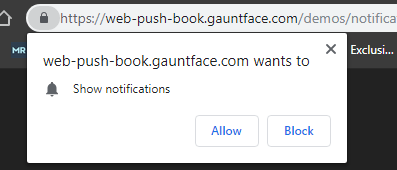
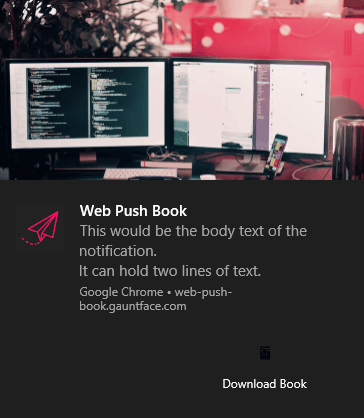
Occasionally, you’ll come across a website that asks for your permission to send notifications. This prompt appears just beneath the address bar in Chrome, over top of the bookmarks bar (if enabled). Sometimes, this pops up completely randomly and unsolicited—usually, in this case, it’s best to close the prompt or block them. However, sometimes you’ll see this request when you try to enable a certain feature on a website. Chrome uses something called “toast” notifications. A toast is a non-modal, unobtrusive window element that displays text before automatically expiring. These have become very popular recently, but before them, Windows tooltips were often used. Chrome’s toast notifications can be very robust. They can include an image, text, an icon, action button(s), and more.
How to Stop a Website from
Sending Chrome Notifications
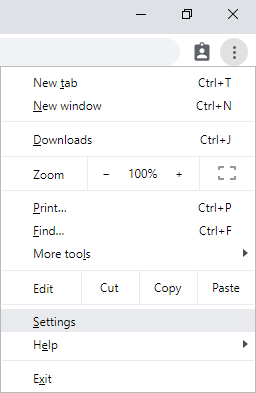
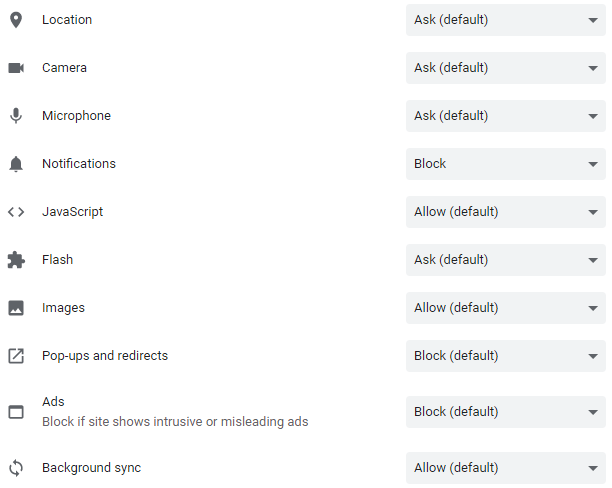
You may find yourself in a situation where you’ve enabled notifications for a website that ends up being rather obnoxious. Instead of going to the website and relying on them to have a built-in way for you to disable their notifications, you can go straight to Google Chrome’s settings to take control of this. The first step is to access Google Chrome’s settings by going into the Settings menu. Scroll to the bottom of this page and click on Advanced. The first table you should see is labeled Privacy and Security. In this table, click on the Site Settings row. This will take you to a page with a similar table, and in it, find and click on Notifications. This is the fifth-row option from the top. On the following page, you will have a list of all domains that you’ve allowed or blocked notifications on. To block notifications from a website you’ve previously allowed them on, click on the hamburger menu icon and select Block. You can do the same for blocked notifications that you want to allow by instead selecting Allow. To the left of the hamburger menu icon for each blocked and allowed domain will be a right-pointing arrow icon. Clicking on it will allow you to clear data from that website, fully reset all permissions, or reset each individual permission. These permissions include preferences for your location, camera, microphone, sound, and allowing Flash in Chrome. Although it’s hidden deep within Chrome’s settings, you can finally have your quiet browser back by following this guide! Don’t fret if you ever accidentally allow or block a website from sending you notifications—it can always be undone using these steps.


